Adho Mukha Svanasana is supposed to feel good. That’s the part nobody tells you at the beginning.
If your first experience of Downward-Facing Dog was wrist pain, a back that refused to straighten, and a teacher telling you to relax your shoulders while you had absolutely no idea what that meant, you’re not alone. That’s how it goes for most people. Not because the pose is difficult. Because it’s almost always taught the wrong way.
This guide starts from where you actually are, not where the pose ideally wants you to be.
What Adho Mukha Svanasana Is Actually Asking Your Body to Do
Adho Mukha Svanasana means Downward-Facing Dog in Sanskrit. Adho is downward, Mukha is face, and Svana is dog. The name comes from the stretch a dog makes naturally when it wakes up.
The pose creates an inverted V-shape with the body. Hands on the floor. Hips lifted toward the ceiling. Heels reaching down. It is classified as a mild inversion because the head sits below the heart.
But here is the thing most beginners don’t know. The pose is not a stretch. It is not a transition. It is a full-body strength posture that requires active engagement from the hands all the way through to the hips. When it’s treated as a passive shape to hang in, everything hurts. When it’s understood as an active posture with a clear internal structure, it starts to make sense.
The primary action in Adho Mukha Svanasana is spinal lengthening. The hands press the floor away. The hips lift away from the hands. The spine decompresses in between. That traction is what the pose is for. Everything else, including whether your heels touch the floor, is secondary.
Why Your Wrists Hurt in Downward-Facing Dog
Wrist discomfort in Adho Mukha Svanasana is almost always caused by the same thing: weight landing in the heel of the palm with the fingers doing nothing.
When the fingers are passive, the entire load of the upper body drops into the base of the wrist. The joint is not designed to handle weight that way. So it complains.
The fix is hand engagement. Spread all five fingers wide. Then press down firmly through the base of the index finger and the base of the thumb. This redistributes the weight across the entire surface of the hand and activates the forearm muscles, which then support the wrist from above. In yoga this quality of hand engagement is called Hasta Bandha.
This one change makes the pose feel structurally different. The wrist stops bearing the weight alone. The whole arm becomes part of the support system.
If discomfort continues after correcting the hand placement, use two yoga blocks under the hands. Elevating the hands reduces the wrist angle and gives the forearms more room to engage. It is not a beginner modification. It is a useful tool for any practitioner with sensitive wrists.
A 2013 study in the Journal of Bodywork and Movement Therapies found that wrist loading during yoga postures is significantly reduced when practitioners actively engage the finger and thenar muscles rather than passively bearing weight through the heel of the palm.
Why Your Back Rounds and What to Do About It
A rounded lower back in Adho Mukha Svanasana is not a flexibility problem. It is a sequencing problem.
Here is what actually happens. When the hamstrings are tight, they pull on the sitting bones and tilt the pelvis backward. The lower back rounds to compensate. The spine cannot lengthen because the pelvis will not cooperate. So the back curves, the tailbone drops, and the pose collapses from the bottom up.
The solution is not to stretch the hamstrings harder. The solution is to bend the knees.
When the knees bend, the hamstrings release their grip on the pelvis. The pelvis can then tilt forward. The tailbone lifts. The lower back lengthens. The spine finds the space it’s been looking for.
A long spine with deeply bent knees is the correct version of Adho Mukha Svanasana for most people who are new to the pose. Straight legs with a rounded spine is not the pose. It looks right from the outside and does nothing useful on the inside.
Bend the knees as much as you need to. Keep the back long. Let the legs straighten over weeks and months of consistent practice. Not in a single session.
Why Your Heels Don’t Touch the Floor (And Why It Doesn’t Matter)
The heels touching the floor is one of the most persistent misconceptions in yoga. For many practitioners, they simply will not touch the floor. This is often structural. The length of the calf muscles, the Achilles tendon, and even the shape of the ankle joint determine how far the heels can descend.
The goal of Adho Mukha Svanasana has nothing to do with the heels. The heels reach downward as an action, not as a destination. That reaching lengthens the back of the legs and gives the hips something to push away from. Whether they make contact with the mat is irrelevant.
Forcing the heels down by straightening the legs aggressively almost always rounds the lower back. You’ve traded one misalignment for another.
If the gap between the heels and the floor is uncomfortable or distracting, place a folded blanket under the heels. This provides a stable surface, allows the legs to engage fully, and removes the mental focus from an outcome that doesn’t matter.
How to Do Adho Mukha Svanasana: Step-by-Step
Set Up the Hands First
Start on all fours in a tabletop position. Place the hands shoulder-width apart with the middle finger pointing straight forward. Before anything else, engage the hands. Spread the fingers. Press through the base of the index finger and thumb. This is the foundation of the whole pose.
Find the Right Distance
Most people set their hands too close to their feet. A reliable way to check: shift forward into a plank position. If your shoulders stack directly over your wrists, the distance is correct. Adjust now if needed. Widening the stance makes the pose significantly more workable.
Lift the Hips
Tuck the toes. On an exhale, press through the hands and lift the hips up and back. Form the inverted V-shape. Immediately bend the knees. Generously. Focus entirely on the spine at this point. Is it long? Is the lower back releasing rather than rounding? If yes, you’re in the right place regardless of where the legs are.
Organise the Shoulders
Rotate the upper arms outward, away from each other. Feel the shoulder blades spread apart and flatten against the back ribs. Move the shoulders away from the ears. Create length through the neck.
The instruction most teachers give here is press down through the hands. A more accurate instruction is to press the floor away. That subtle difference activates the shoulder girdle rather than just loading it with weight.
Work the Legs Gradually
From a position of stable spine and organised shoulders, begin to work the legs. Rotate the inner thighs upward toward the ceiling. Press the tops of the thighs back away from the torso. If the hamstrings allow, begin to straighten the legs slowly. Heels reach toward the floor. Let them land where they land.
Feet stay hip-width apart and parallel. Check this. Many people let the feet splay outward without noticing. Parallel feet align the hips and knees more accurately.
Let the Head Hang
The ears should be level with the upper arms. Not lower, not higher. The back of the neck is long. The gaze is soft, toward the navel or the tops of the thighs. The head hangs without tension.
Hold for thirty seconds to start. Build to two minutes over time.
Come Out Slowly
Exhale and bend the knees back to the mat. Lower slowly. Sit into Child’s Pose for a breath or two if needed. Exit with the same attention you brought to entering.
The One Thing That Changes Everything
If there is a single instruction that transforms Adho Mukha Svanasana faster than anything else, it is this: bend your knees and lengthen your spine before you do anything else.
Not the heels. Not the shoulder blades. Not the gaze. The spine first. Every time.
Once the spine is long, the shoulders can be organised. Once the shoulders are organised, the legs can engage. The pose builds from the inside outward, not from the visible shape inward.
When to Modify and How
Wrist sensitivity: Use two blocks under the hands at the highest level. Or practice the wall variation, hands on the wall at hip height, feet walked back until the torso is parallel to the floor. This teaches all the same actions without the wrist load.
Tight hamstrings: Keep the knees bent throughout. There is no timeframe for straightening the legs. Let it happen naturally.
Heels far from the floor: Fold a blanket under the heels. Practice continues normally without the distraction.
Shoulder discomfort: Return to the wall variation. It removes the weight-bearing requirement from the shoulders while allowing you to feel the correct rotation and spreading of the shoulder blades.
Frequently Asked Questions
Is Downward-Facing Dog supposed to feel this hard?
In the beginning, yes. But hard in the muscles is different from sharp pain in the joints. Muscular effort is expected. Wrist pain, shoulder pinching, or lower back compression are signals to adjust, not to push through.
How long until Adho Mukha Svanasana feels comfortable?
For most practitioners, four to eight weeks of consistent practice produces a noticeable shift. The hands engage better, the shoulders settle, and the spine finds more length. The timeline varies depending on body type, flexibility, and how often you practice.
Can I do Downward-Facing Dog every day?
Yes. Many yoga traditions include it as part of a daily sequence. It is one of the more sustainable postures for frequent practice. Listen to the wrists. If they need rest, use the wall variation.
What is the difference between Downward Dog and Dolphin Pose?
Dolphin Pose is practiced on the forearms instead of the hands. It removes all wrist load and is particularly useful for building shoulder strength. It can serve as a preparatory pose for Adho Mukha Svanasana or as a standalone alternative for those with wrist injuries.
Practice with Guidance
The adjustments that make the most difference in Adho Mukha Svanasana are difficult to find alone. Whether the shoulder blades are actually flat against the ribs, whether the pelvis is tilting or tucking, whether the spine is lengthening or just appearing to. These are things a teacher’s eye catches in seconds.
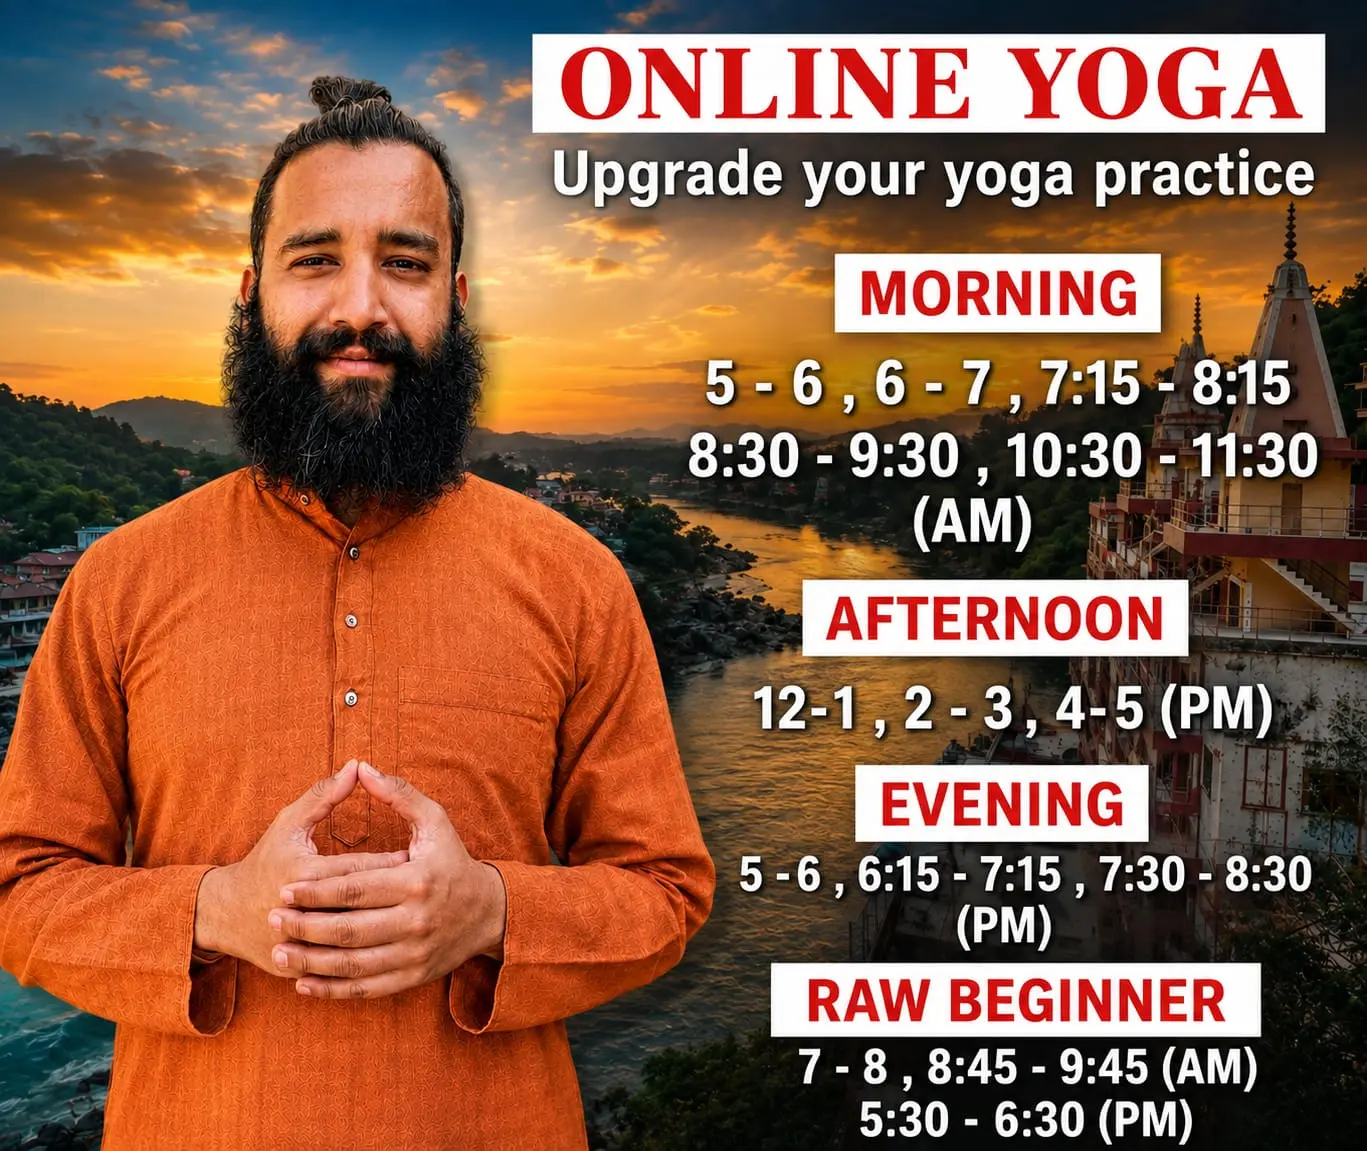
If you want to build a grounded, precise practice with consistent feedback, explore the online yoga classes at Ganga Yogshala. Each class is structured around alignment and body awareness, the same principles that make poses like Adho Mukha Svanasana work the way they are meant to.